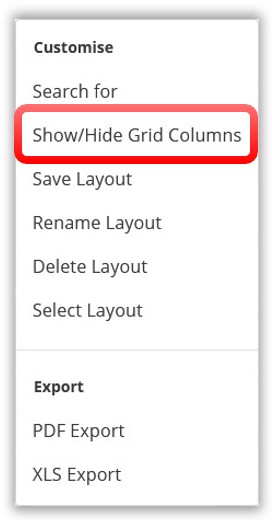
Access the layout settings by clicking
on the  Ellipsis
button at the upper right of the page.
Ellipsis
button at the upper right of the page.
Next, select Show/Hide Grid Columns
from the menu.
Throughout TrakaWEB, there are many grids that display important information for the page you are currently viewing. The Show/Hide Grid Columns button allows you to add or remove Grid Columns on the page you are currently viewing. Once you have added a field to the grid, it becomes a column that you can move or remove.
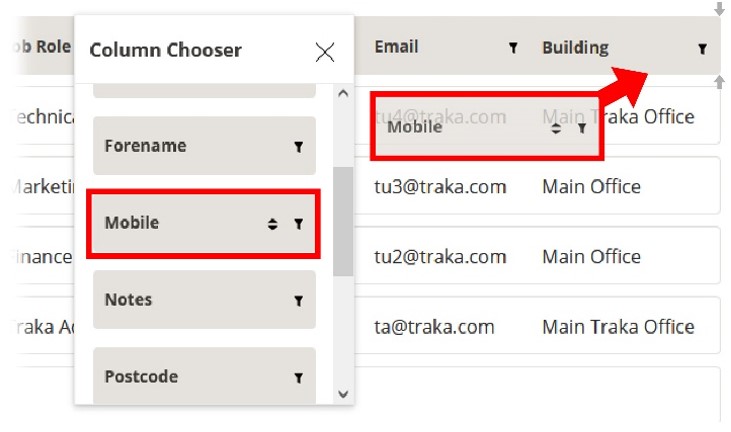
When adding extra fields to a grid, it is important to remember that each column header is different and the fields that can be placed and taken away will vary from grid to grid. In the example below, we will select the field Mobile to be added to the grid on the Users page.
Access the layout settings by clicking
on the Ellipsis
button at the upper right of the page.
Next, select Show/Hide Grid Columns
from the menu.
A window will now appear displaying a number of different fields to
add to the existing columns. Depending on the page you are viewing and
the current data on screen, each grid or tab will have a different selection
of columns for you to select and customise.
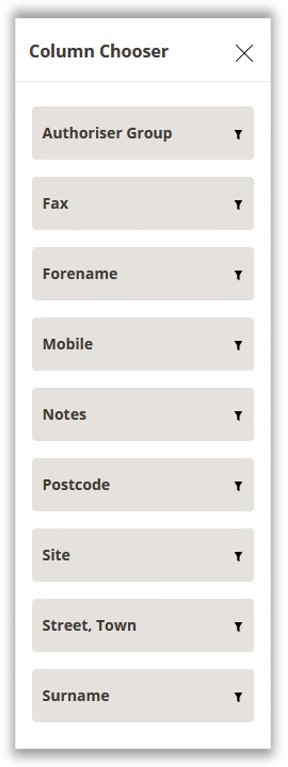
The fields you can select from are relevant to user i.e., mobile number, fax, email etc. These fields are definable in the User Fields.
To add a column to your grid, simply drag and drop the desired
field to the Column Header. The grey arrows will indicate where the
new field will fit into the grid.
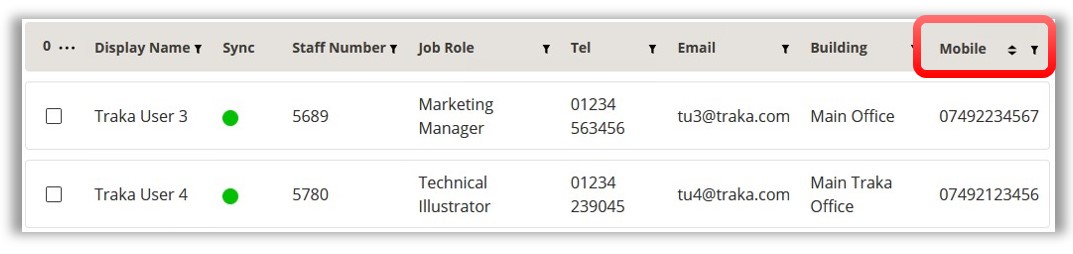
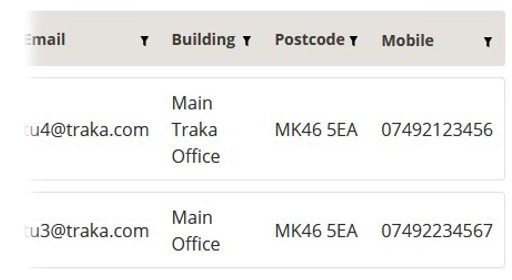
Once the field is placed, the grid will show the data that field represents.
In this case, the Mobile field was added and therefore, if
the users listed in the grid have a mobile number entered into their
user details page, it will now be displayed here.
You can add multiple fields to a grid by simply following the above
steps.
If you have a specific set of columns that you may wish to view again, you can save them and give them a unique name. This is known as a Layout. Please review the following topic to Save a Layout.