Throughout TrakaWEB, there are various places that use grids to display important information. Each will vary slightly in what columns are displayed or what size they are, however the navigation through each grid is the same.
Tabs & Columns
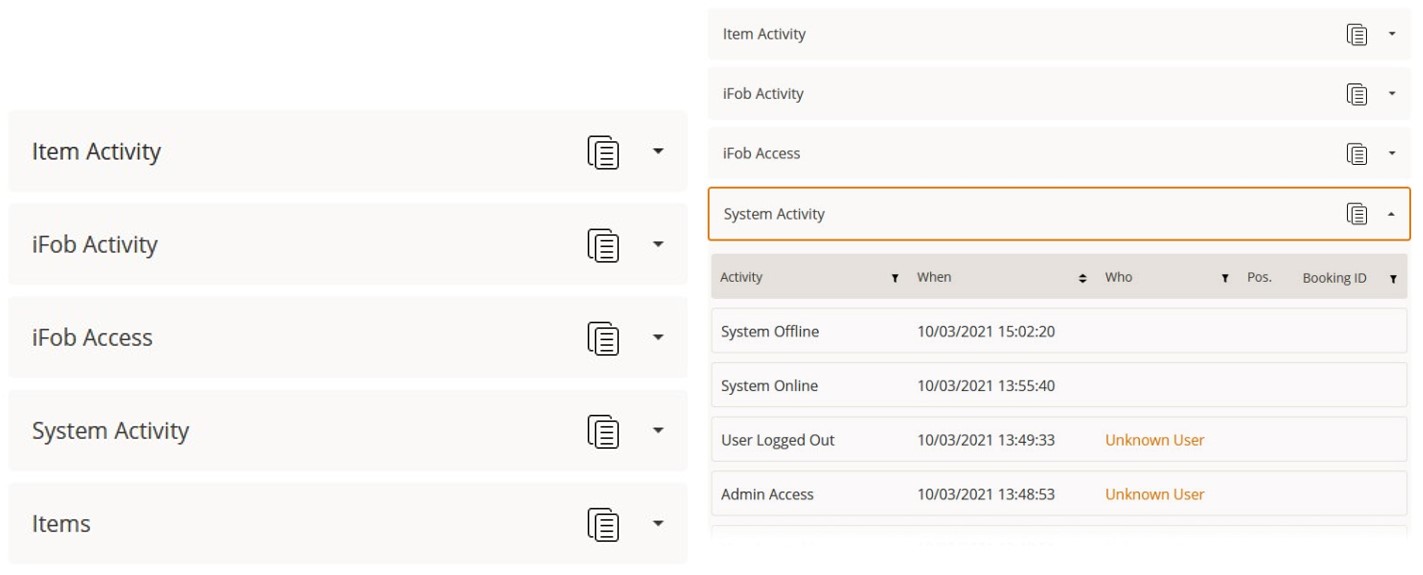
Each grid is made up of one or more columns and often has at least one tab. Selecting a tab will either navigate to another page or expand to display a column.
Some pages allow any combination of columns which can be saved and stored for later viewing. These are known as Layouts. Please refer to the Layouts Overview for more details.
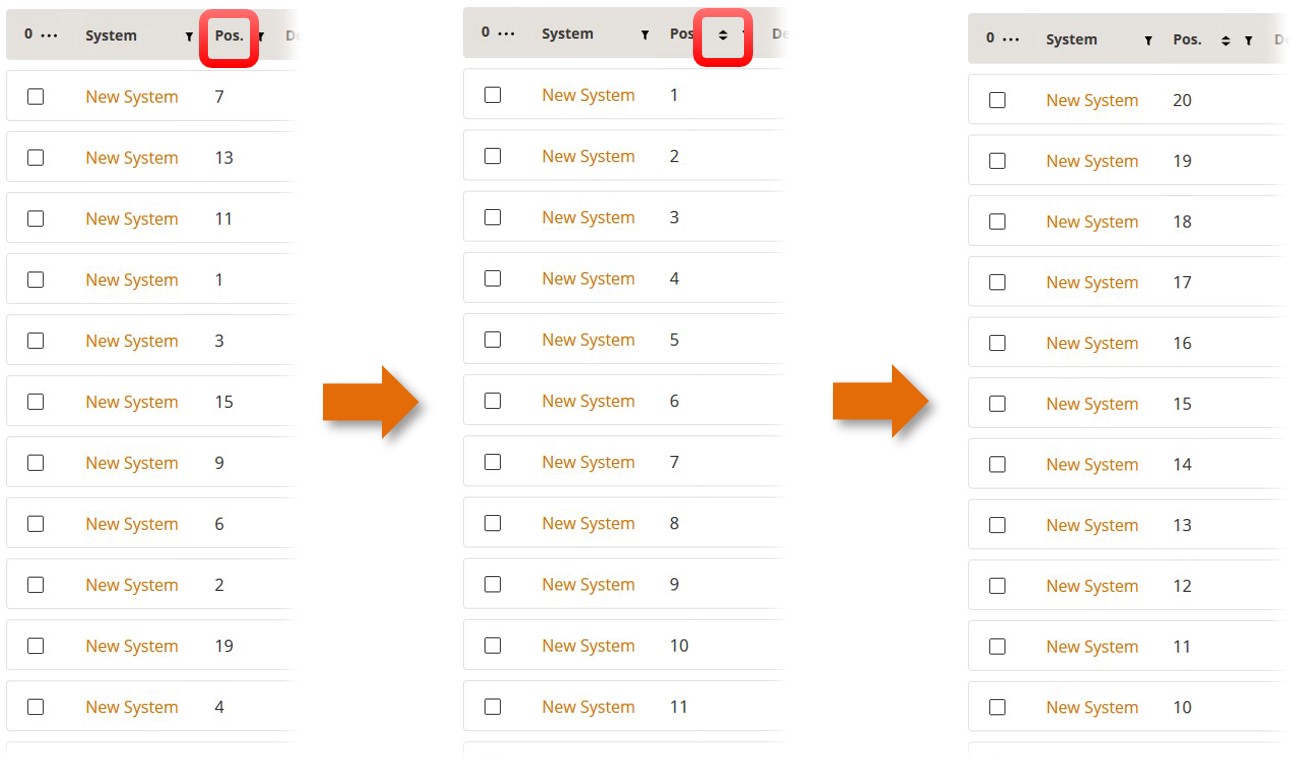
The information in each column of a grid can be sorted by ascending or descending order. To achieve this, simply click on the Sort button in the column header to toggle the information from random to ascending first. Click again to sort to descending first.
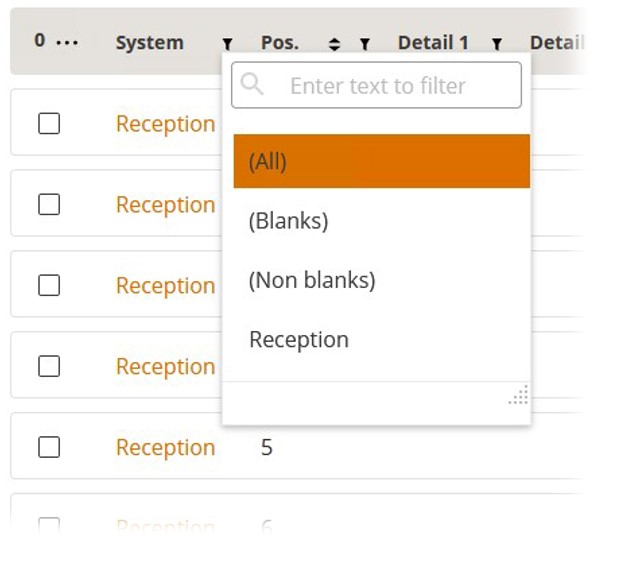
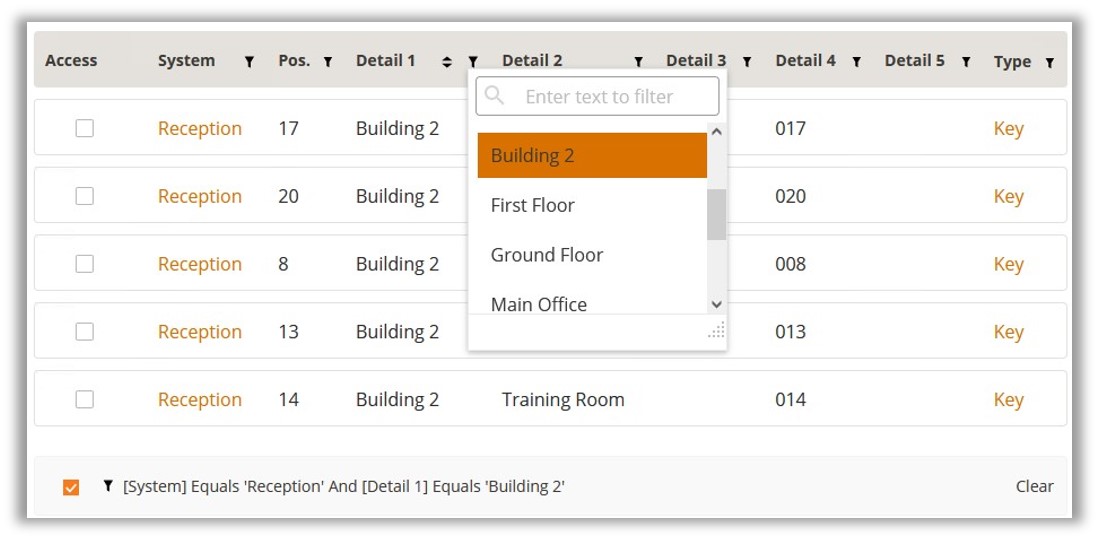
Often there is a Filter button next to the column name. This also offers different options for filtering information. In the example below, the system filter has been dropped down to show the names of all systems in the selected region. By default, the column always shows 'All' the system names. Clicking one of these names will automatically display that specific system. The option 'Blanks' will display any system without a name whereas; 'Non-Blanks' will show every system that has a name. Alternatively, you can search for a specific system by entering its name in the text box.
It is also possible to sort information on multiple columns. For example, clicking the position column will sort the position number ascending first i.e., 1, 2, 3 etc. Holding the shift key on your keyboard and selecting another column, e.g., system, will then sort the position number by the system name.
At the bottom of each grid is the page selector. You can click the number of the page you require or alternatively by clicking either of the < > buttons will move the page along one page at a time. To navigate to the very first or last page click, select either the first or last page number.

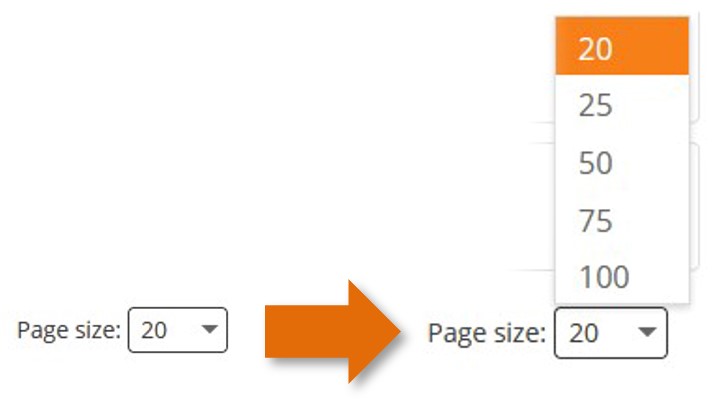
Often there is also the option to select how many lines of data you can view on each page. This is only applicable if you have many lines of data that cannot be shown together. Selecting the drop-down arrow from the Page Size form in the bottom right-hand corner will allow you to select how many lines of data will be displayed on each page.
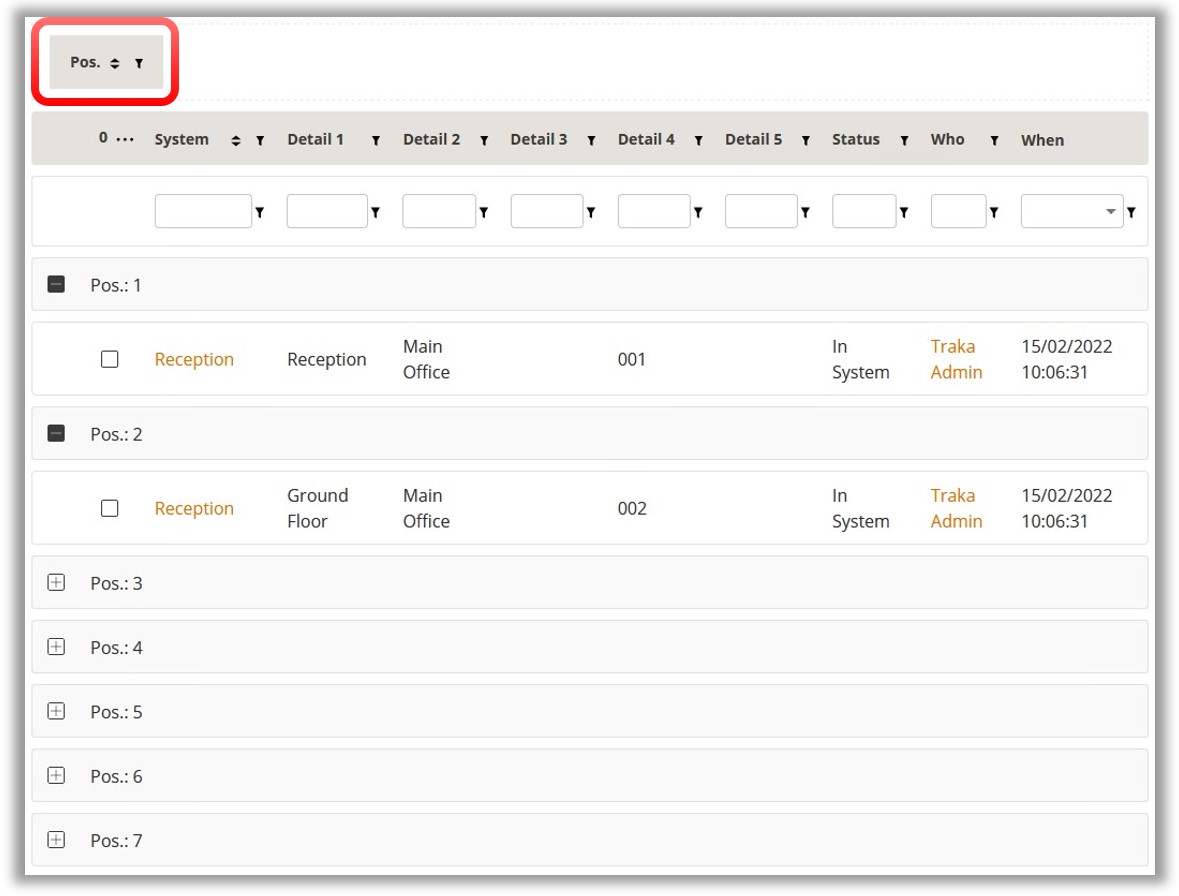
Grouping Information by Column
Most grids in TrakaWEB have the functionality to group information by the column. To tell if the grid you are viewing is able to group by columns, a 'grouping bar' can be made available by selecting the Search for feature. The ‘grouping bar’ will then appear above the column headers and will display the message 'Drag a column header here to group by that column'.

In the example below, the 'position' column has been added to the grouping bar. This allows you to view each position number individually. By expanding each line, you will see the details for that position number across all systems in the database. If you had three systems for example, you would see three separate lines with details on that position number in each of the three systems.
Grant All/Revoke All
The Grant All/Revoke All buttons are a quick way to allocate or deallocate access of all items to a user. They can be used in relation to Item Access Groups and Item Access.
At the Edit User screen, click on the Item Access tab.
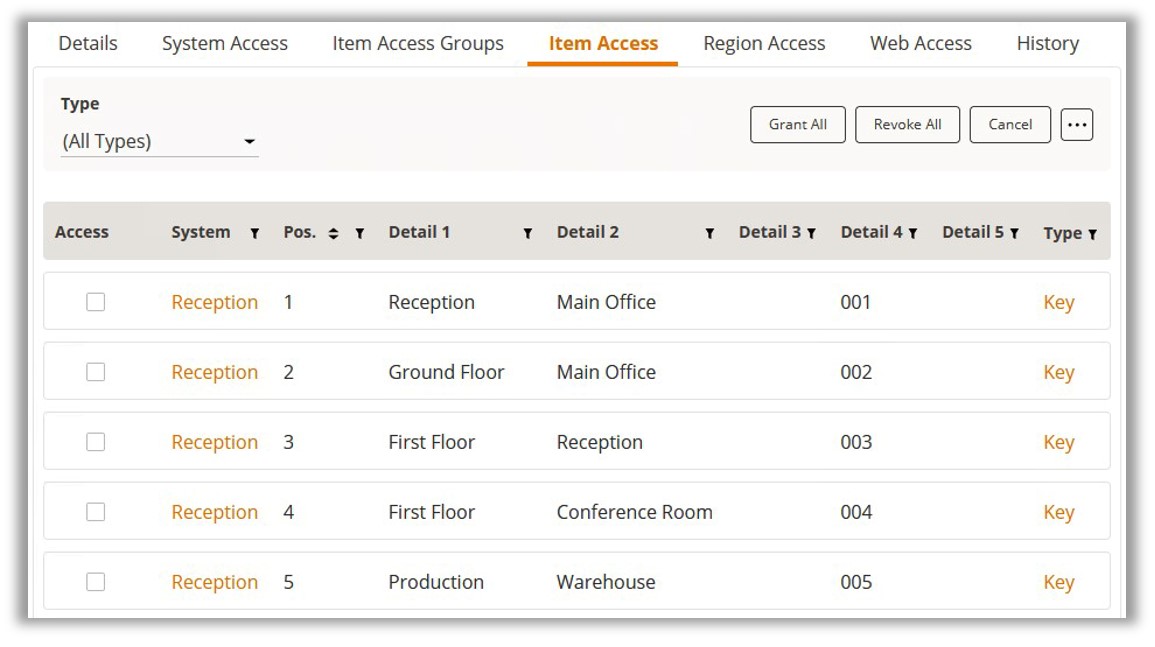
Clicking on the Grant All button will place a tick in every box in the Access Grid.

The same function can be applied to filtering the information in the grid.
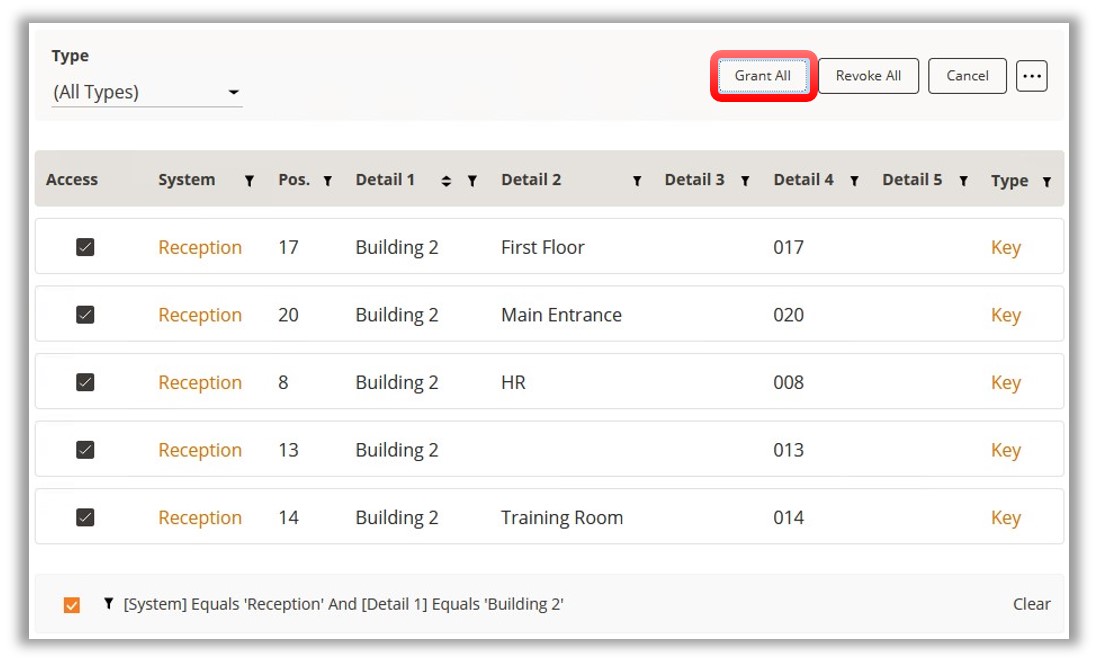
Clicking on Grant All with a filter applied will only grant access to the items currently displayed in the grid.
NOTE: A similar process can be applied when setting up Users and Items in Access Schedules by clicking on Select All or Remove All.