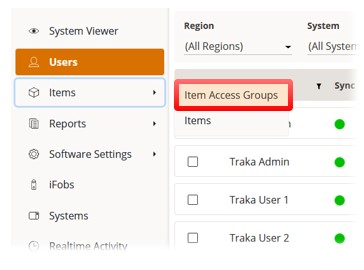
Select the Item
Access Groups page via the
Navigation
Menu.
Item Access Groups allow you to restrict users to only being able to access certain items. They are particularly beneficial, as you do not need to give each user individual access to each item/system, which could take some time depending on how large your work force is. Groups work by allowing items (across multiple systems) to be accessed by a group. You can then give users access to the groups they need, therefore allowing the users to remove/return the items they need.
NOTE: For information on Common Item Access Groups, please refer to Random Return to Multiple Systems.
NOTE: For more information on Software Item Access Restrictions, refer to the Software Permissions Groups section.
Select the Item
Access Groups page via the
Navigation
Menu.
The Item Access Group
list will then be displayed.
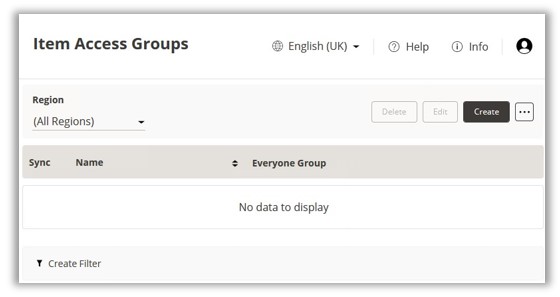
Click the Create button on the Toolbar.
You will then be prompted
to enter a group name.
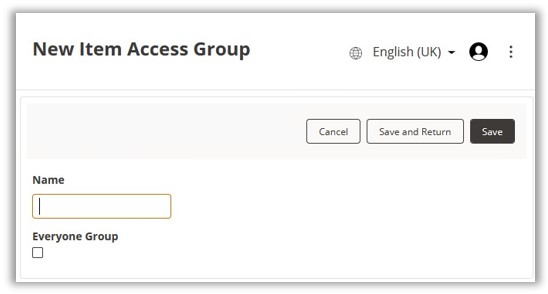
Click the Save
button to enable the Region, Item Access, Users
and History tabs. At this point, you can select the option
Everyone Group. An ‘Everyone Group’ automatically makes all
users a member of the Item Access Group (removing the need to manually
add them to the group individually), where the User’s region and Item
Access Group’s regions match.
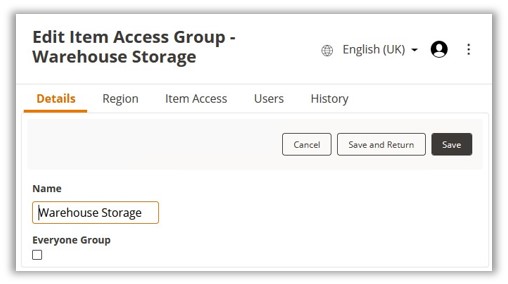
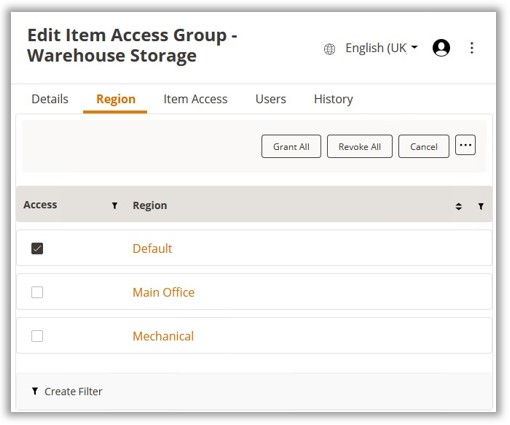
Next, select the region
or regions you wish to apply to
the group.
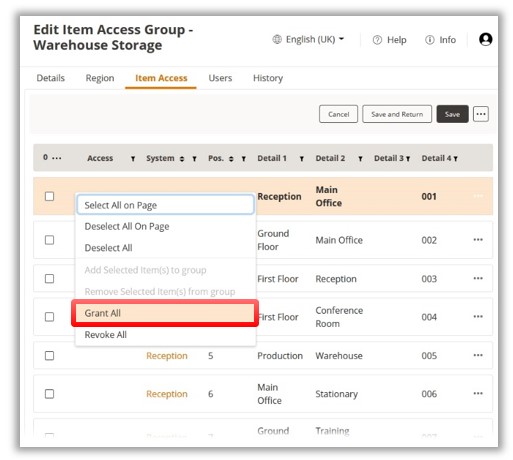
The Item Access list will display all the items in the database.
The items listed here will depend on what systems are in the region/s
you selected on the previous page. Here you can select which items
the group will have access to. Simply check the box in the access
column for the relevant items. Alternately, you can right click within
the grid and select Grant
All from the context menu.
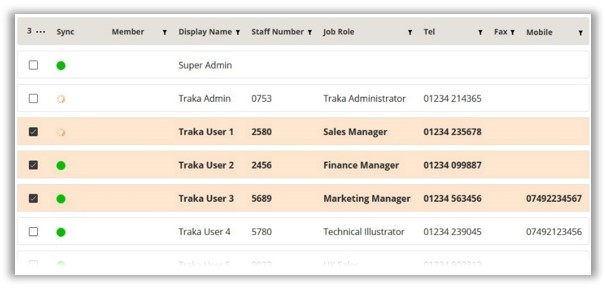
The Users tab will display
a list of available users. To add users to the group, you can select
them individually by left clicking on the checkbox to the left of
the user.
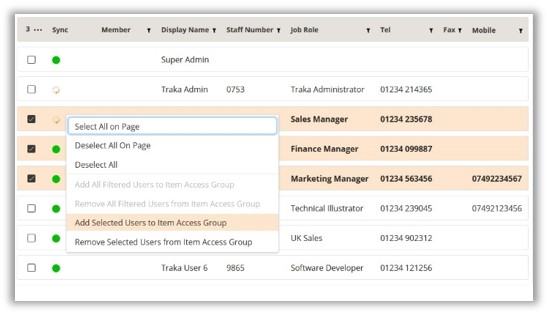
To add them to the current
group, right click and select the option from the context menu.
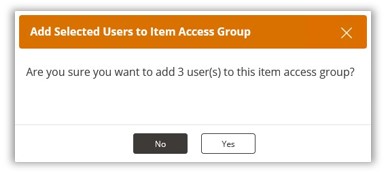
A message will appear
requesting confirmation. Click on Yes, to continue.
The selected users will
now be added to the Item Access Group. Once completed, click on Close
to continue.

The History tab will enable you to view a record of any activity for
the Item Access groups.
