From the system viewer, highlight a position that currently does not have an item assigned. Then using the Toolbar, select the Edit Item button.
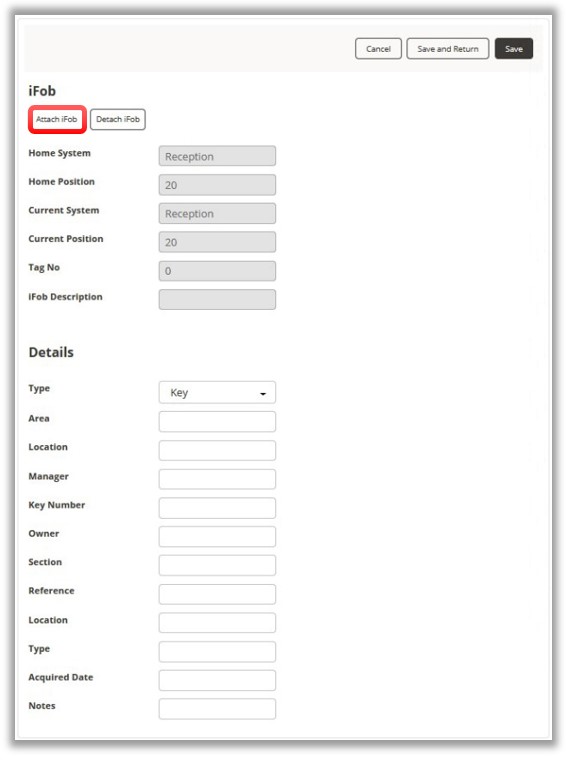
You will be presented with the Details page. Here, you can edit the details as required and select the item type from the drop-down menu.
Select the Item Type
and then select the Attach iFob button.
The
iFob
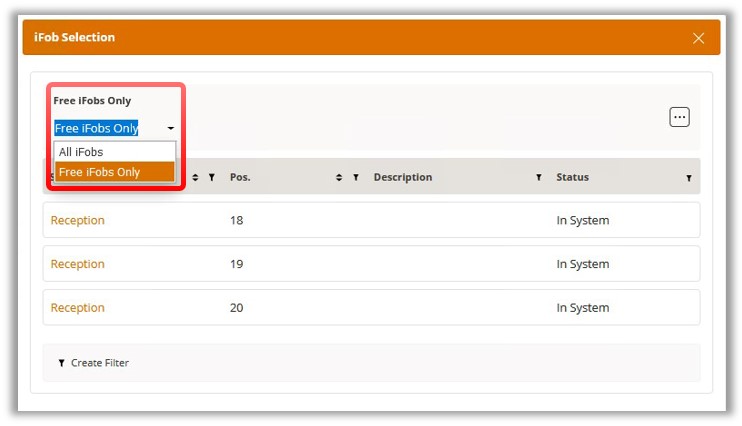
Selection screen will
now appear, showing a list of all the iFobs in the system that currently
have not been assigned items. From the drop-down menu on the ribbon
toolbar, it is possible to view All iFobs
or Free
iFobs Only.
Select an iFob that you wish to add the item to.
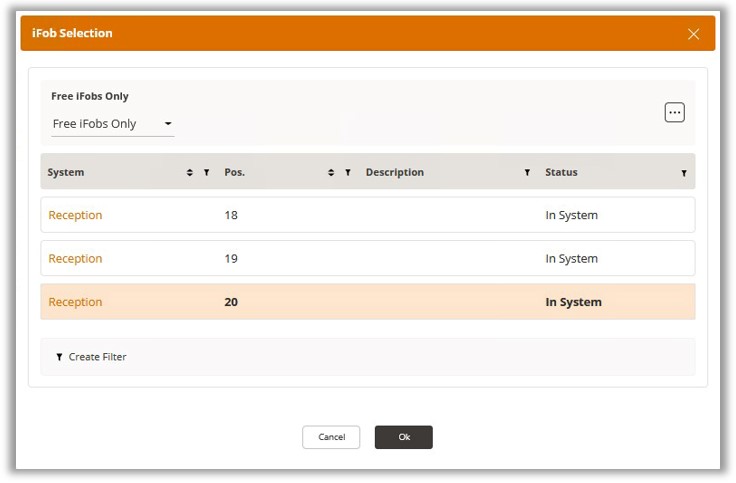
Once you have made your selection, click on OK and you will return to the New Item page.
Click on the Save button
to complete the process.
On returning to the System Viewer, you will now see the item has been
added to the selected iFob. Repeat the process to add items to the
remaining iFobs as required.

NOTE: It is possible to change headings of the
detail fields by Editing the Item Type.
After you have entered all the required details click the Save &
Return button. This will take you to the items list for the system
you are currently viewing. Clicking the Cancel button will return
you to the Item Types page without saving the new item details.